Welcome to the important news site.
I know that if I talk about the meaning and concept of Recycle Bin or the Windows trash can, you will definitely get bored and you will close the window of this article quickly. Anyway, whoever clicked on this headline knows what Recycle Bin is and what exactly it does.
So I won’t waste your time and I’ll go straight to the point and a topic that you probably don’t know about. In this text, I want to show you how you can change the Windows 10 Recycle Bin usage rules and use it however you like. So stay tuned with Digiato.
Change the maximum capacity of the Recycle Bin
You may not know but Recycle Bin also has limitations. For example, you cannot put more than a certain size of files in the Recycle Bin and expect them to stay there forever. No, Recycle Bin definitely doesn’t work like that. In general, Windows always keeps the volume of the trash in a certain interval, and when its capacity is full, it starts to destroy the old discarded files.
Calculating the overall capacity of the Recycle Bin is not a difficult task. Just consider the total volume of a drive and calculate 5% of it. The answer to this simple equation will indicate the total Recycle Bin capacity for each drive. Yes, you read it right, any drive you create can use the capacity of the Recycle Bin to a certain extent. This means that if you have a drive of, for example, one terabyte, then you will be able to throw away 46 GB of files.
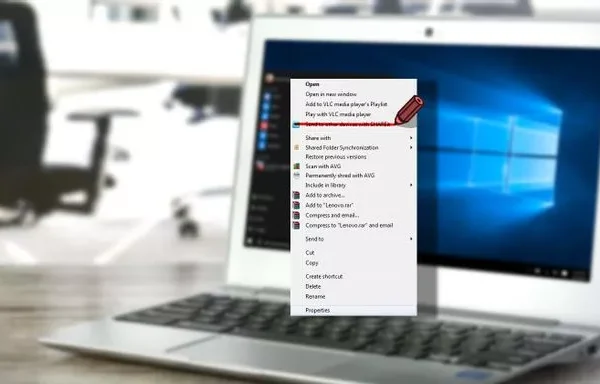
But it is very easy to change this procedure. To be able to change the Recycle Bin usage capacity for each drive, just right-click on the Recycle Bin icon and go to the Properties option.

With this, a small window will open in front of you with the complete list of your drives. By clicking on the names of the drives, the system will show you how much Recycle Bin capacity has been set aside for them. To understand this value, just look at the number in front of Maximum Size after clicking on the name of the drives.

Fortunately, this value is modifiable and you can change it as much as you like whenever you like. But don’t forget to click the Apply and OK buttons respectively after applying the changes.
Remove the Recycle Bin and delete instant files
Unlike many users who are used to always keep the Windows Recycle Bin full, many people take the shift key from the very beginning and press the Delete key to permanently delete the file they no longer need.
If you are one of this category of users, I must say that you can make the Windows recycle bin go away and delete a file instantly from the system memory by touching the Recycle Bin settings.
For this, just right-click on the Recycle Bin icon again and go to Properties. Now if the “Don’t move files to the Recycle Bin” option. Select “Remove files immediately when deleted”, you will no longer need to hold the shift key and you can delete files immediately by pressing the Delete key.

Of course, my suggestion for those who go for this option is to make sure to activate the “Display Delete Confirmation Dialog” option at the end of the job. Because by activating this option, if you press the Delete key, the system will warn you about the permanent and irreversible deletion of that file.

In this case, you will have time to reconsider the continuation of the process and not let a file be suddenly deleted from the system forever.
Automatic emptying of the Recycle Bin
With the release of one of the first updates of Windows 10, the Storage Sense feature was opened to this operating system. In the agenda of Storage Sense, it was mentioned that the user can use it to free up hard drive space more easily.
But in general, this feature was meant to gradually remove software such as Ccleaner from Windows to automatically clean additional system files. Interestingly, Storage Sense also had a useful and good feature, thanks to which it was possible to schedule the automatic cleaning of the Recycle Bin.
For example, by entering this section, the user can set the Windows Recycle Bin to be completely emptied every two days. To access this feature, just go to Windows settings and enter System and Storage respectively. By entering the Storage menu, look for the “Change how we free up space automatically” link and click on it.

On the next page, scroll down a bit to reach the Temporary Files section. Then activate the “Delete temporary files that my apps aren’t using” option and through the first drop-down menu below, provide the system with the time you want to automatically clean the trash.

It might not be a bad idea to set this setting to once every thirty days. So I suggest you set it to 30 days, so that from now on, Windows will automatically completely clean the system trash once every thirty days.
