Welcome to the important news site.
One of the necessary things to install Windows 11 is to use the TPM 2.0 chip, which can be troublesome for users. Fortunately, there are various methods to fix the TPM 2.0 problem in the Windows 11 installation 11 and bypass this feature, which we will discuss in the following article.
What is TPM 2.0?
TPM chip is used for encryption at the hardware level, and version 2.0 is considered newer and provides more security to users. For this reason, Microsoft has decided to include it among the essential prerequisites of Windows 11. Usually, Intel and AMD processors made in the last 5-7 years support this chip, and if you own a PC, you can buy it separately.

Activating TPM 2.0 in Windows 11
If your computer or laptop meets the minimum hardware specifications required for Windows 11 and you still encounter an error message related to TPM 2.0, you can manually enable this feature through the BIOS menu. Activate the device. To do this, just follow the steps below.
1. Shutdown or Restart the device.
2. After the device restarts, press the key corresponding to the BIOS menu. You can find this key by searching the internet for the manufacturer name of your device. F10 and F12 keys are among the most used keys to enter the BIOS.
3. After the BIOS menu appears, first enter the Boot Options section and if Secure Boot is disabled, enable it. Of course, if you intend to install Windows 11 from flash, it is better to leave this option inactive.

4. Next, go to the Security section and set the option with TPM or Security Chip to active mode.
5. After completing the steps, press the F10 key to save the changes and then select the Yes option. If you are using an AMD processor, you must go to the Peripherals section to enable TPM.
Note that the appearance of the BIOS menu and the location of its options are not the same in all devices, and the products of different manufacturers have a different appearance.
Bypass TPM 2.0 check
If your computer or laptop is not equipped with a TPM 2.0 chip, you can fix the TPM 2.0 problem in Windows 11 installation by disabling its presence check. There are two methods for this, which we will discuss below.
Replace the appraiserres.dll file
1. By referring to this link, the appraiserres.dll file for Windows 10 download. Because Windows 10 does not check the presence of TPM 2.0 during installation, its files can also be used in Windows 11 installation.
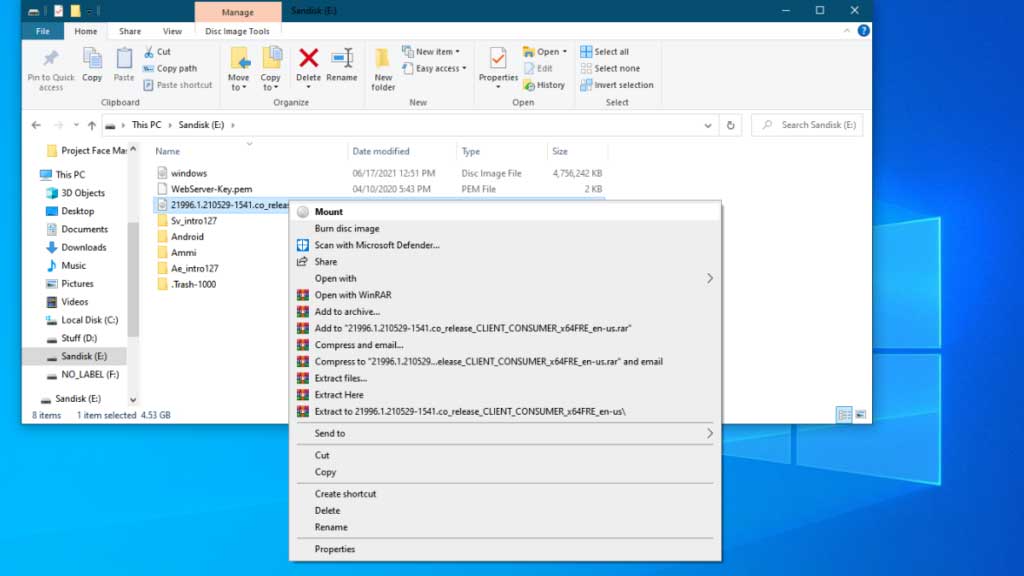
2. Open the Windows 11 installation ISO file. To do this in the Windows environment, just right-click on the file and then select Mount. In Linux, you must use the Archive Manager tool to open the said file.
3. After extracting the contents of the ISO file, go to the Sources folder in the extraction location.

4. Next, find the appraiserres.dll file and delete it. Then put the downloaded file related to Windows 10 in the same place.

5. To re-convert the contents to an ISO file in Linux, first open a terminal and then type the following command. Finally, press the Enter key.
genisoimage -o “what you want to name your iso”iso “Directory of the file”
Now you can use the new ISO file to fix TPM 2.0 problem in Windows 11 installation.
Edit Registry
The second method to bypass the TPM 2.0 prerequisite is editing the registry during the installation of Windows 11, which can be done according to the following steps.
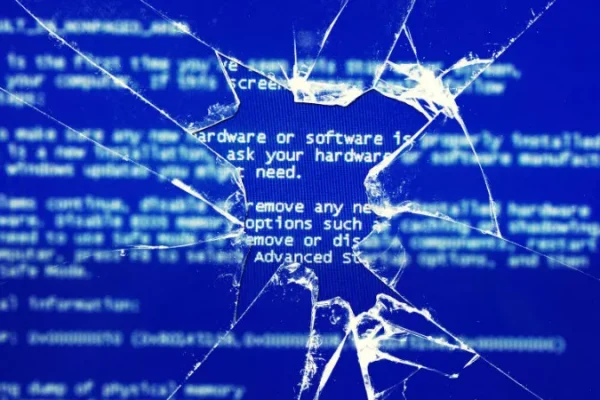
1. During the installation of Windows 11, if the system does not have a TPM 2.0 chip, you will see a screen similar to the image below with the corresponding error message.

2. After viewing the mentioned page, press Shift + F10 to open the command prompt window. Now type regedit and then press Enter to open the registry editor.

3. Now, in the registry editor, go to the following address and then right-click on the Setup Key file and follow the path of New and Key. Now type LabConfig in the opened window and press Enter again. Next, right-click LabConfig and select DWORD (32-bit) value from the New menu. Now create a new variable called BypassTPMCheck and set its value to 1. Do the same again for the BypassRAMCheck and BypassSecureBootCheck variables and set their values to 1 as well. At this stage, you should have things like the image below.
HKEY_LOCAL_MACHINESYSTEMSetup

4. Finally, close the registry editor and press the Enter key after typing exit in the command prompt. Now, on the page with the error message, hit the back button and again after choosing the version of Windows 11, click on the Next option.
Note that this method can affect the stability and performance of Windows in the future.
Frequently asked questions to fix TPM 2.0 problem in Windows 11 installation
Yes; Using methods, you can disable the check for the presence of TPM 2.0 during the installation of Windows 11 and continue the process of installing the new Windows without any problems.
The TPM 2.0 chip is used to encrypt information at the hardware level and it seems necessary to ensure the security of users; However, you can run Windows 11 without this chip.
Intel and AMD processors manufactured in the last 5-7 years , they can often support TPM 2.0 chip.
