
Welcome to the important news site.
Microsoft is currently trying to replace Command Prompt with PowerShell. Honestly, PowerShell is powerful and can handle all the needs of professional users. However, it might be better to leave this advanced tool to professional users.
Somehow, almost all of us are used to using the command prompt. On the other hand, the command prompt can meet the daily needs of ordinary users while being simple. Likewise, there is no reason for normal users to want to migrate from the command prompt to PowerShell.
However, the general command prompt has other useful features that you may not be aware of. For this purpose, we dedicated this article to Command Prompt commands and tricks. Just follow Digiato below to learn about the interesting features of this practical tool.
1) What you need to know about the functionality of function keys
Almost all the function keys (from F1 to F9) in the command prompt have a specific task, and you can read the characteristics of each of them below:
F1: call the character to the character of the previous command.
F2: request a character by command prompt and retype the text of the previous command until reaching the desired character.
F3: full recall of the previous command.
F4: request a character by command prompt and delete the text of the command until reaching that specific character.
F5: limited review of previously executed commands in order from last to first.
F6: Type “Z^” in the current command.
F7: access to the list of all executed commands.
F8: unlimited review of previously executed commands in order from last to first.
F9: access to previous commands by typing their number.
2) display the command history
In the command prompt, it is possible to view the history of typed commands. Just type the following command in the command prompt window:
doskey /history3) Repeating previous commands
If you need to repeat previous commands, you don’t need to do complicated work. Just use the up arrow key. Each time you press this key, the commands will be repeated from the last to the first, and you can execute it when you reach the desired command.
4) simultaneous execution of several commands
As you know, executing each command in the command prompt may take some time. This gets annoying when you want to execute several different commands. In this case, you have to wait until the process of executing one command is finished and then type and execute another command. But you can use “&&” after typing each command to bring another command and execute them together. Like the following example:
cd C: && echo I'm here!5) Stop the running command
If the execution of a command is extremely time-consuming, you can stop it by using the shortcut “Ctrl + C“.
6) View page by page output of commands
Each command has a unique output for itself. Most of their output volume is extremely large and their text quickly fills the command prompt window. However, with the help of the following command, the output of these commands can be grouped into smaller parts and give them a regular and understandable order.
[A command with output] | more
The command “more” displays the output of commands as normal and continues to do so until the page is completely filled. But when the page fills up at the end of the text, it puts “– More –” and stops displaying further output. In this case, if you press the space key, the continuation of the output will be displayed on another page. Of course, you can see the continuation of the output on the same page by pressing the enter key.
7) Filtering the output of a command
As we said before, many commands have long outputs that it is not easy to review all of them. This issue makes it extremely difficult to search for specific phrases among the long and long texts of these outputs.
Therefore, if you want to search for a specific phrase, you have to spend a lot of time and check each and every line of the output. But it is enough to put a filter on the outputs using the following command to make it easier to browse their different sections.
[a command with output] | find "search phrase"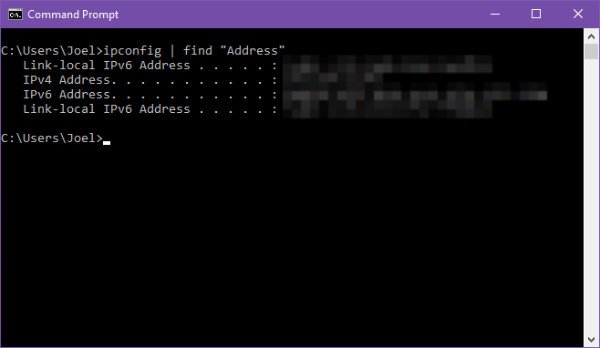
For example, if you want to collect a list of all the errors that occurred during the last year, you will end up with a huge output, which is certainly very difficult to search. But thanks to the “find” command, it is possible to collect a list of specific errors by filtering the output.
8) Copying the output of a command
Copying the command output from the command prompt is probably one of the most nerve-wracking tasks possible. But with the help of the following command, the output can be transferred to the clipboard after display:
[command with output] | clipAfter that, just use the shortcut “Ctrl + V” anywhere to paste the output text.
9) Save the output of a command
It is also possible to transfer all the output of a command directly to a file and avoid successive copy-pasting. Just use the following command:
[command with output] > filename.txtUsing this command, a text file is created in the command prompt folder, which contains the output text of the executed command. Of course, the storage location of this file can also be changed by typing the new address next to the command.
10) Drag and drop files
As you know, sometimes to execute a series of commands, it is necessary to type the addresses of the files. But many of these files are located in multiple directories and it is not easy to type their addresses manually.
Of course, you can get help from the address bar of the windows and copy the file address and paste it in the command prompt. But the good news is that you don’t need to bother so much. Just take the desired file and drop it into the command prompt window.
With this, the address of the desired file will be transferred to the command prompt, and there is no need to type countless strange words. Of course, it should be noted that this method can only be used in the normal command prompt mode. In simple words, the admin mode of the command prompt does not support drag and drop, and it is not possible to transfer the addresses of files in this way.
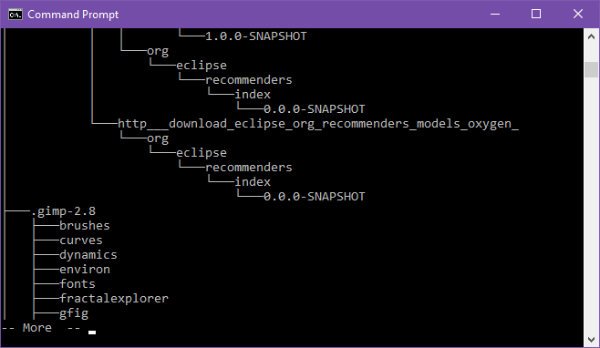
11) Display the structure of all folders
In addition to all the mentioned features, you can see the tree structure of all folders with the help of the “tree” command. Of course, this issue is not only limited to the display of folders, and you can also see the structure of the files with the help of the “tree /F” command.
12) Completing the names of files and folders automatically
As we said before, typing the addresses of files manually is a very exhausting and time-consuming task. But you can save a lot of time with the help of tab key.
Just press the tab key while typing the addresses so that the command prompt will offer you the closest phrase that matches the text. Of course, the number of these options according to the text may be more than one or two. Therefore, just press the Tab key several times to get the result you want.
13) Changing the size of the command prompt window
Don’t like the size of the command prompt window? No problem, you can change its size through settings. But there is an easier way and you can increase or decrease the window size using the following command.
mode [COLUMNS] ,[ROWS]For example, if you want the command prompt window of your system to be 120 characters wide and 40 characters high, just type the command “mode 120,40” and hit enter.
14) Full screen command prompt window
You can also use the shortcut “Alt + Enter” to make the command prompt window full screen.
15) Watch Star Wars at the command prompt
The Windows command prompt, along with all its good features, also hosts an interesting Easter Egg. Somehow, you can watch a different version of the fourth episode of the Star Wars series through the command prompt.
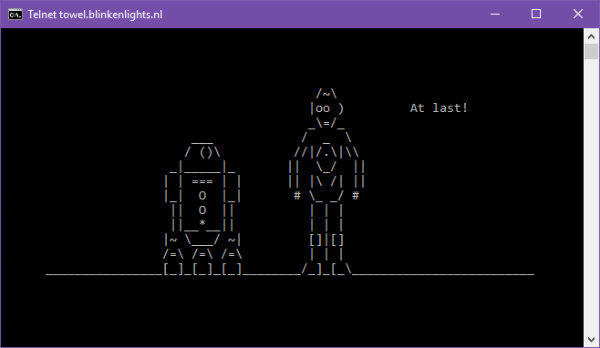
Of course, Windows 10 users should activate “Telnet” before executing this command. To activate Telnet, just open the start menu and type “turn windows” in the search bar.
Now, from the results, select “Turn Windows features on or off” and look for “Telnet Client” in its window. Then put a tick in front of it and click on the “OK” button.
After following these steps, type the following command in the command prompt and watch the fourth episode of Star Wars.
telnet towel.blinkenlights.nl