Welcome to the important news site.
Microsoft has just announced the global release of Windows 11 started. Of course, the possibility of accessing the new operating system of Redmonds will be created gradually for all people. Also, users who don’t want to wait in line can install Windows 11 manually. In this article, we will teach you how to download and install Windows 11.
In the past, it was possible to install Windows 11 manually through unofficial versions; But now Microsoft has put the ISO file of the official version (Volume License) for download on its site . Of course, before starting the installation process from different paths, it is better to first take a look at the minimum hardware required to install and run Windows 11 on laptops and personal computers.
The minimum system required to install Windows 11
According to the information on Microsoft’s official site, the following are necessary to install Windows 11 will be:
- Processor with a frequency of 1 GHz with at least two 64-bit cores from the eighth generation of Intel or Ryzen 2000 or later
- 4 GB of RAM
- 64 GB of internal memory
- Support for UEFI BIOS and Secure Boot
- Use of TPM version 2.0 chip
- Compatibility with Direct X version 12 and WDDM 2.0 driver
- 9-inch display with a minimum resolution of 720p and support for 8-bit color channel
Among the above, the TPM chip is one of the few pieces of hardware that may not be found in some devices or older versions may be used. To check its version, first press the Win + R shortcut key and then type tpm.msc in the Run window and finally press the Enter key. Next, the TPM Management window will open and you will be able to see the version available on your device at the bottom of the TPM Manufacturer Information title. Also, for more information, you can go to the article “What is TPM chip and why Windows 11 wants to force users from it?” refer to it.
To find out if other hardware specifications of your laptop or PC match those declared by Microsoft, you can refer to the product manufacturer’s website. Also, by right-clicking on Start and selecting the System option, you will be able to see the amount of RAM and processor specifications of the device. Microsoft proprietary tool PC Health Check is also available to users, which can check the hardware compatibility status before installing Windows 11. Next, take a look at
Intel processors compatible with Windows 11
In the table below, you can see the Intel processors that are officially supported by Microsoft Windows 11:
AMD processors compatible with Windows 11
In the table below, you can see the AMD processors that are officially supported by Microsoft Windows 11:
| AMD processors supported by Windows 11 |
| Ryzen 2000 |
| Ryzen 3000 |
| Ryzen 4000 |
| Ryzen 5000 |
| Ryzen Threadripper 2000 | Ryzen Threadripper 3000 |
| Ryzen Threadripper Pro 3000 |
| AMD EPYC 2nd Gen |
| AMD EPYC 3rd Gen |
Update to Windows 11 with Windows 10 settings
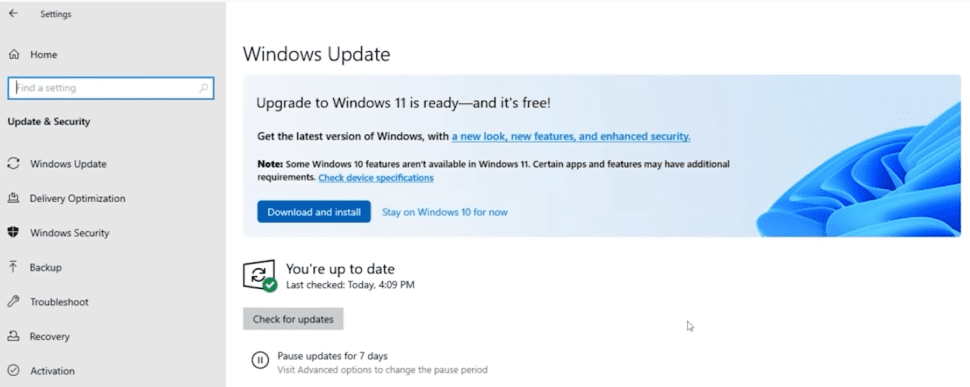
The easiest way to install Windows 11 is to update it through Windows 10 settings. To do this, first go to Settings and then select Update & Security and then click on Windows Update. Now Windows will check the possibility of free update to the new version for the system and if such a feature exists, it will display the key to download and install Windows 11. To get the new version, click the Download & Install button and then click the Accept and Install option. The process of installing new Windows may take some time.
Installing Windows with Windows 11 Installation Assistant
The Windows 11 Installation Assistant tool is available as a recommended method by Microsoft to install a new version of Windows. Users can easily upgrade their Windows 10 to Windows 11 with the help of this tool. Of course, before using the said tool, you should pay attention to its prerequisites, including having a Windows 10 license. Also, Windows 10 on the laptop or PC must be version 2004 or higher to be able to run the program. 9 GB of free space in the internal memory will also be necessary to download Windows 11.
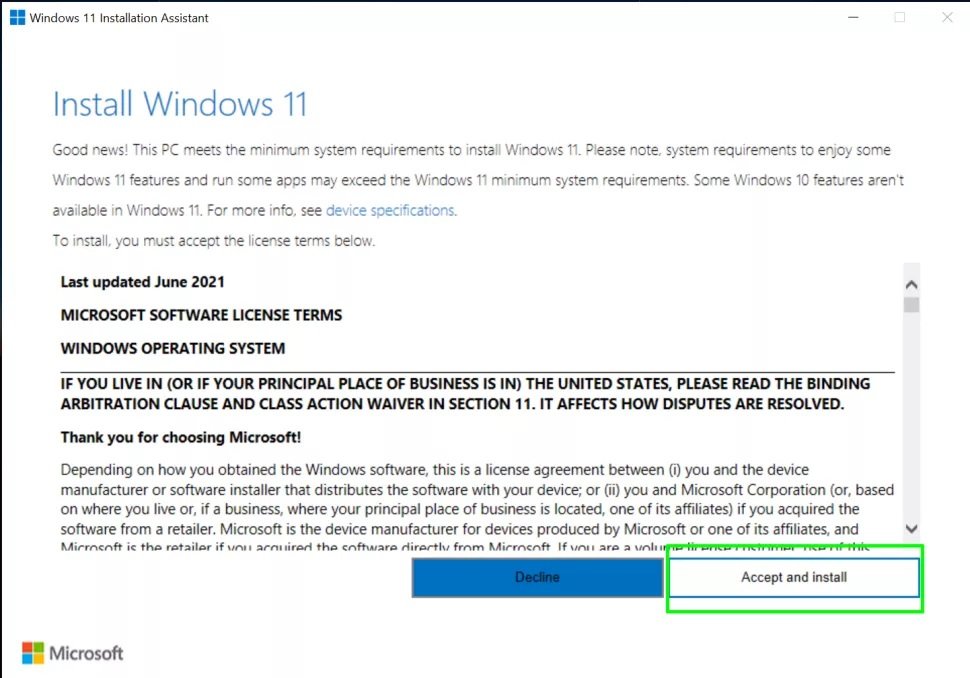
After downloading Windows 11 Installation Assistant from its official page, click the Run button And then grant Administrator access permission to the program. After confirming the compatibility of the hardware to install Windows 11 by the mentioned tool, the terms of use of the Microsoft operating system will be displayed. By selecting the Accept & Install button, the user accepts the mentioned items and the installation process starts.
When the tool has completed all the necessary preparations, the Restart Now button will be displayed to continue the complete installation process. Installing Windows 11 completely will take several minutes and your device may be restarted several times during this process. Be careful not to turn off the device during this step.
Install Windows 11 manually with ISO file
Another way to install Windows 11 on a laptop or PC is to use the ISO file. With the help of such a file, you can make a flash memory or a bootable disk and then use it to manually install Windows. This method is the older method for installing Windows, which was more popular in the past; For this reason, many users are familiar with it and prefer to install the new Microsoft operating system in this way.
First you need to get the Windows 11 ISO file. As mentioned in the previous sections, Microsoft has provided the ISO file of the official version of its new operating system to those interested, which is available from this page will be accessible. Users can also use unofficial versions of Windows 11 for different purposes.
If your device does not meet the required hardware specifications announced by Microsoft, you can use the ISO file of the unlocked version that can be obtained from other sources. This version is used for devices with RAM less than 8 GB, TPM older than version 2.0 and no support for Secure Boot; Although Microsoft does not recommend installing Windows 11 on such products.

After downloading the desired ISO file, you must place it on a peripheral memory. To do this, you can use different software, one of the most popular of which is Rufus, which you can download its installation file from this page . The said program is able to extract the information contained in the ISO file on the external memory and create a bootable drive.
Users can use flash memory (USB), disk (DVD) or even a memory card if there is a port (SD or microSD); Of course, you should note that their size is at least 8 GB or more. Also, during the data extraction process, all previous information on the external memory will be deleted. If you do not use a memory with the appropriate size, you will encounter the error message Disk image file is too large.

In the Rufus program, first select the external memory you want. Then set the File System type to NTFS. Next, select the downloaded ISO file by pressing the Select key and finally press the Start key. The external memory is now bootable and you can use it on your current device or other devices. To boot the memory, you must first enter the BIOS of your laptop or PC. To do this, first restart the device and then press the F2 or F8 key alternately.
The said key may be different in the products of different manufacturers, and to find it, you can search the name of the manufacturer of your device on the Internet. Finally, after entering the BIOS environment, go to the Boot tab and select the external memory connected to the device as the first boot option and save the applied changes. After restarting the system again, the installation process of Windows 11 will start.
Installing Windows 11 with Media Creation Tool
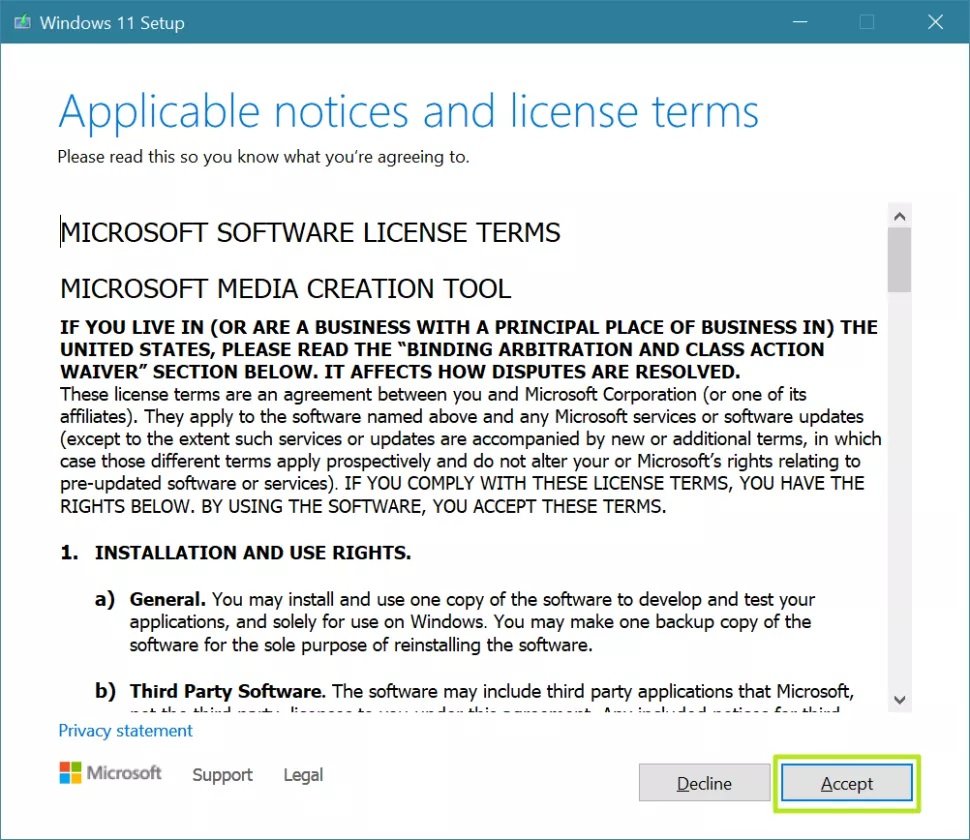
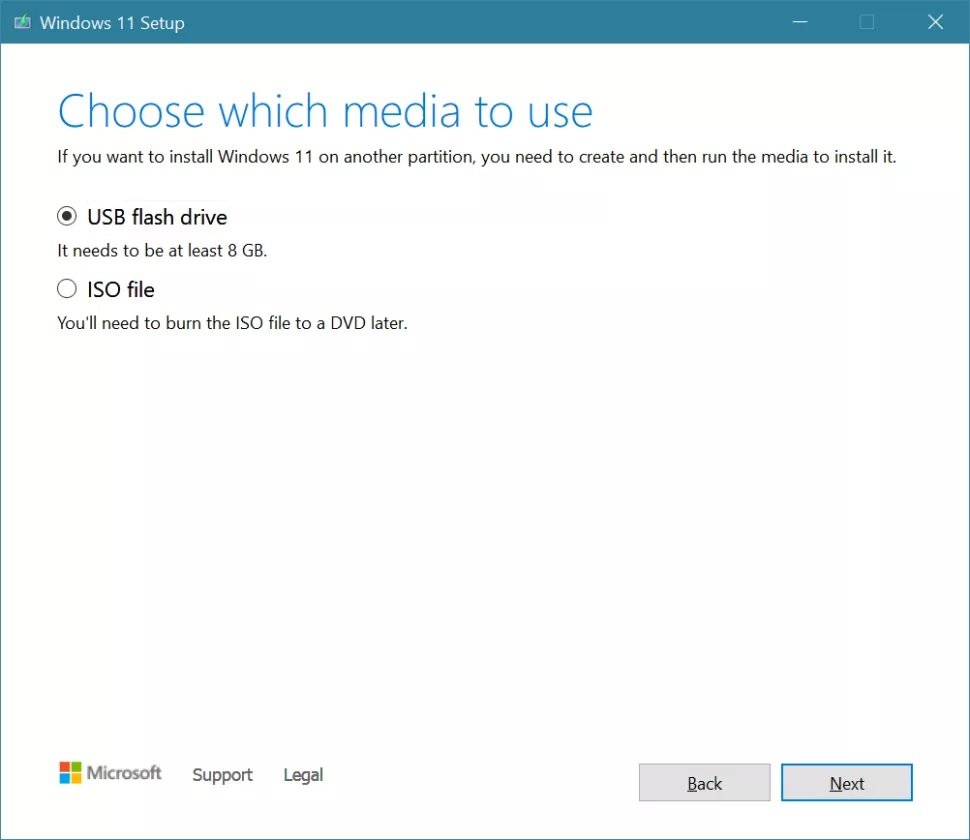
The basis of this method is the same as installing with an ISO file; But it uses a more user-friendly environment and can be considered as an easier alternative for some users. First go to Visit the official Windows 11 download page and then click the Download Now button at the bottom of the Create Windows 11 Installation Media section. The Media Creation Tool will now download. Run it and click the Accept button.
Installing Windows 11 on old Intel and AMD processors
Microsoft does not officially support Windows 11 on old and incompatible processors, however, you can easily install the latest Redmond operating system on such systems Install.
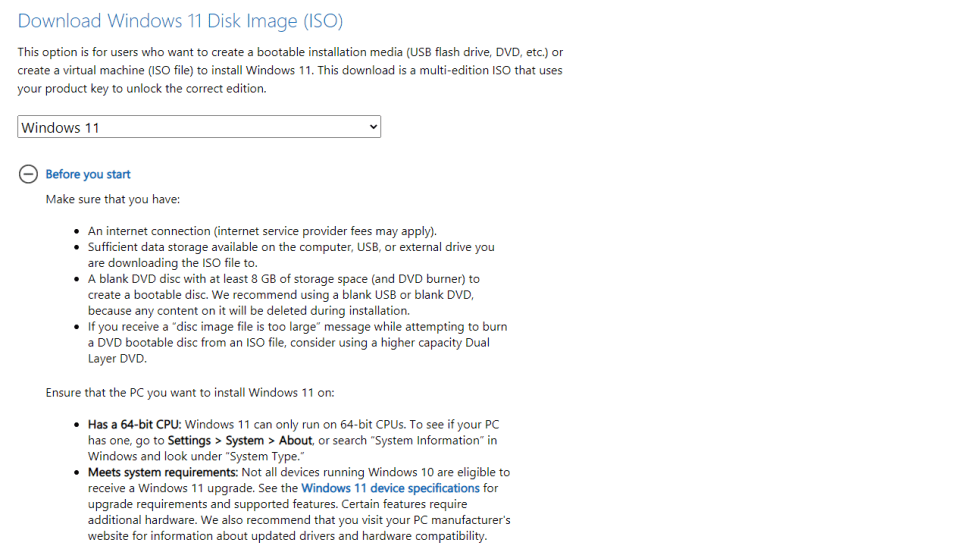
To get started, visit Microsoft website Go and open the Select Download drop-down menu from the Download Windows 11 Disk Image section. Then select Windows 11 and click the Download button. From the Choose one menu that appears, select the desired language and after selecting Confirm, click on the 64-bit Download option.
Modify registry to bypass CPU check. Open the Start menu, type regedit and press Enter to open the Registry Editor. Write the address ComputerHKEY_LOCAL_MACHINESYSTEMSetupMoSetup in the bar above or go to the HKEY_LOCAL_MACHINE sections, then System, then Setup, and then MoSetup, respectively, from the left panel.

Now right-click in the right panel and select DWORD (32-bit) Value from the New menu. Name AllowUpgradesWithUnsupportedTPMOrCPU. Then click on it twice and enter the value 1 in the Value data section. Finally, click OK and close the registry editor.

When the Windows 11 ISO file is downloaded, right-click on it and select Windows Explorer from the Open with menu to make the virtual disk available. Then start the installation process. By following these steps, you can install Windows 11 without encountering the previous error. Additionally, in this way you can keep your current operating system information.
FAQs of users about downloading and installing Windows 11
1 GHz processor with at least two 64-bit 8th generation Intel cores or Ryzen 2000 or later, 4 GB of RAM, 64 GB of internal memory, support for UEFI BIOS and Secure Boot, use of TPM version 2.0 chip, compatibility with Direct X version 12 and WDDM 2.0 driver, and a 9-inch display with a minimum resolution of 720p and support for 8-bit color channel
You need to download the ISO file for this.
Windows 11 can be installed on the system through the Windows 10 settings, using the Windows 11 Installation Assistant, through the ISO file, and also through the Media Creation Tool.
