Welcome to the important news site.
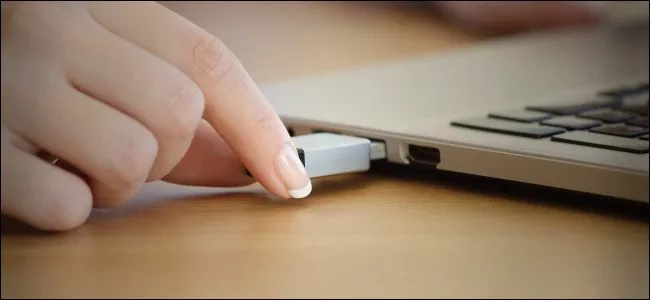
Do you always use the Safely Remove option to remove the flash drive in Windows 10? There are several ways you can save your time and get rid of it forever.
If you are not interested in using the Safely Remove option to remove the flash drive in Windows 10 and want to remove it from your system without damaging it, continue with Digiato to learn how to do this.
Make sure flash is finished
In general, the biggest threat to data in disconnecting a USB flash drive or external hard drive from a computer is when data is still being written to it. If you disconnect the drive from the computer at this time, the data writing operation will be interrupted and the file that is being written or copied will remain incomplete or the file will be damaged.
Before removing the flash drive in Windows 10, make sure that you have finished copying or saving files. Sometimes it is difficult to know when the computer has finished writing information on the flash drive. Perhaps a process in the background is doing this, or an auto-saving program is doing this. In both cases, if you remove the flash from the computer and this process is interrupted, you will have trouble.
Meanwhile, the only way to ensure this is to use the Safely Remove option. However, Microsoft insists that by choosing “Quick Removal” (Qucik Removal) in the operating system and also not writing data to the flash, there is no need to eject it and you can remove the flash without the Safely Remove option, however You must also make sure that Write Caching of the flash drive is not enabled.
Buy an LED flash
If you have a flash equipped with an LED, you can easily find out when it is active because the LED inside it turns on and off when writing or reading information. When this LED is not blinking, it is not active and you can remove it from your system without ejecting.
If your flash has no LED, make sure not to write data on it or copy operation before disconnecting, because otherwise the file will be damaged.
Activate Quick Removal
By default, the Windows 10 operating system optimizes USB drives so that you can quickly remove them from the system without using the “Safely Remove Hardware” notification icon. For such work, Write Caching is disabled.
Write Caching can increase the speed of writing flash data, however, it is possible that the data is being written in the background and you think that this process is completed. The quick uninstall feature was enabled by default in the October 2018 update of Windows 10, known as version 1809.
Since it is possible to enable Write Caching in the Device Manager, you should make sure that it is disabled so that you can remove the flash from the system in the future without ejecting it. To do this, click on the Start button and type Device Manager and press the Enter button.
Click the arrow next to “Disk Drives” and then right-click the external USB drive. In the opened menu, select “Properties”.
In the “Policies” tab, if the Quick Removal option is not enabled, click the circle next to it and then select OK.
Close Device Manager. With this, in the future, you will be able to remove the flash drive in Windows 10 without using the Safely Remove option, but you must be sure not to write information during the removal.


